Table of Contents
Time to give your pool the care it deserves! From quick fixes to simple maintenance tips, keeping your pool in great shape doesn’t have to be a hassle. A little attention can go a long way in making sure your pool stays crystal clear and ready for endless fun. So, let’s talk about how you can keep your swimming pool running smoothly so you can focus on enjoying those sunny days! Thi article guide covers details on swimming pool repair guide to help you with minor issues.
Dive in!
1. Regular Pool Inspection

Prevention is Key
Why would one need to repair it if you take care of it in the first place? Huh? The first step in swimming pool repairs is prevention. Regularly inspecting your pool can help catch small issues before they become major problems.
You should:
- Check the pool surface for cracks or chips in the plaster or vinyl liner. Besides, it’s essential to keep an eye on your inground pools for any wear.
- Inspect the pool equipment, including the pool pump, filters, heaters, and skimmers, to ensure everything is running smoothly.
- Okay, folks, look for leaks around the pool and the equipment area. Even a small leak can lead to significant damage over time. Furthermore, you may want to consider the cost to replace pool skimmer if it’s damaged.
- Lastly, make sure to check the water chemistry at least once a week. Unbalanced pH or chlorine levels can cause long-term damage to the pool surface and equipment. Additionally, checking the water levels is crucial for proper operation.
2. Cracks in Concrete Pools
Repair Solutions
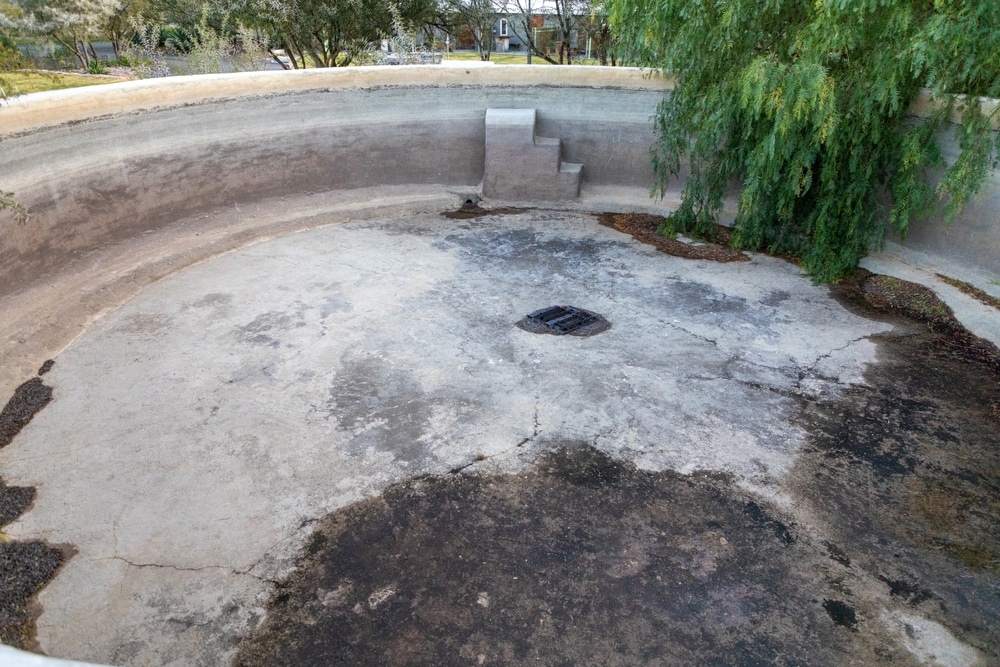
Now, even after all your maintenance efforts, if trouble has knocked on your door then your pool needs some repairs. Concrete pools are durable, but over time, they might develop cracks. These cracks can be caused by ground movement, freezing and thawing cycles, or age-related wear. If left unattended, they can lead to water leakage and structural damage.
Here’s how to repair cracks in a concrete pool:
- Step 1: Drain the Pool – Depending on the size of the crack, you may need to drain the pool to repair it. Typically, the pool repair cost for such issues varies depending on the extent of the damage.
- Step 2: Clean the Crack – Use a wire brush or grinder to clean out the crack and remove any loose debris or algae.
- Step 3: Fill the Crack – Apply a pool-specific epoxy or hydraulic cement to fill the crack. Be sure to smooth it out to match the pool surface.
- Step 4: Refinish – Once the repair material is dry, refinish the surface to ensure it blends with the surrounding area. However, if the crack is significant, you might want to consider hiring a professional to ensure a proper fix.
3. Vinyl Liner Repair
Fixing Tears and Punctures
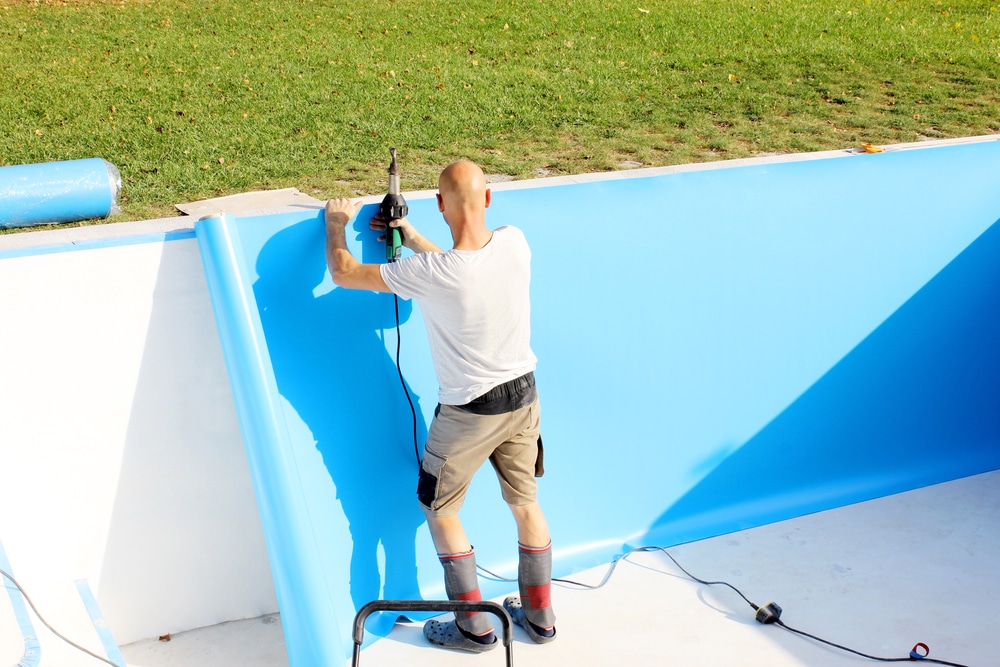
Do you know that vinyl pools are popular due to their affordability, but they are prone to punctures and tears? If you notice a small hole or tear in your vinyl liner, it’s essential to fix it immediately to prevent water from seeping behind the liner and causing further damage.
Here’s how to repair a vinyl liner:
- Step 1: Locate the Leak – If the leak is small, you may need to add food coloring to the water to help trace the leak.
- Step 2: Use a Vinyl Patch Kit – Purchase a vinyl patch kit, which includes adhesive and patch material. Cut the patch to a size slightly larger than the tear.
- Step 3: Apply the Patch – If the tear is below the waterline, apply the adhesive to the patch and carefully place it over the tear underwater. If above the waterline, dry the area and apply the patch.
- Step 4: Smooth the Edges – Use a roller or your hand to smooth out any bubbles or wrinkles, ensuring the patch adheres properly. Furthermore, vinyl pool repair kits are relatively affordable, with replacement costs generally being lower than for other types of pools.
4. Dealing with Leaks
Detection and Repair
Leaks in a swimming pool can be frustrating and costly if not addressed. The first step is to identify where the leak is coming from. Here’s how you can detect and repair a pool leak:
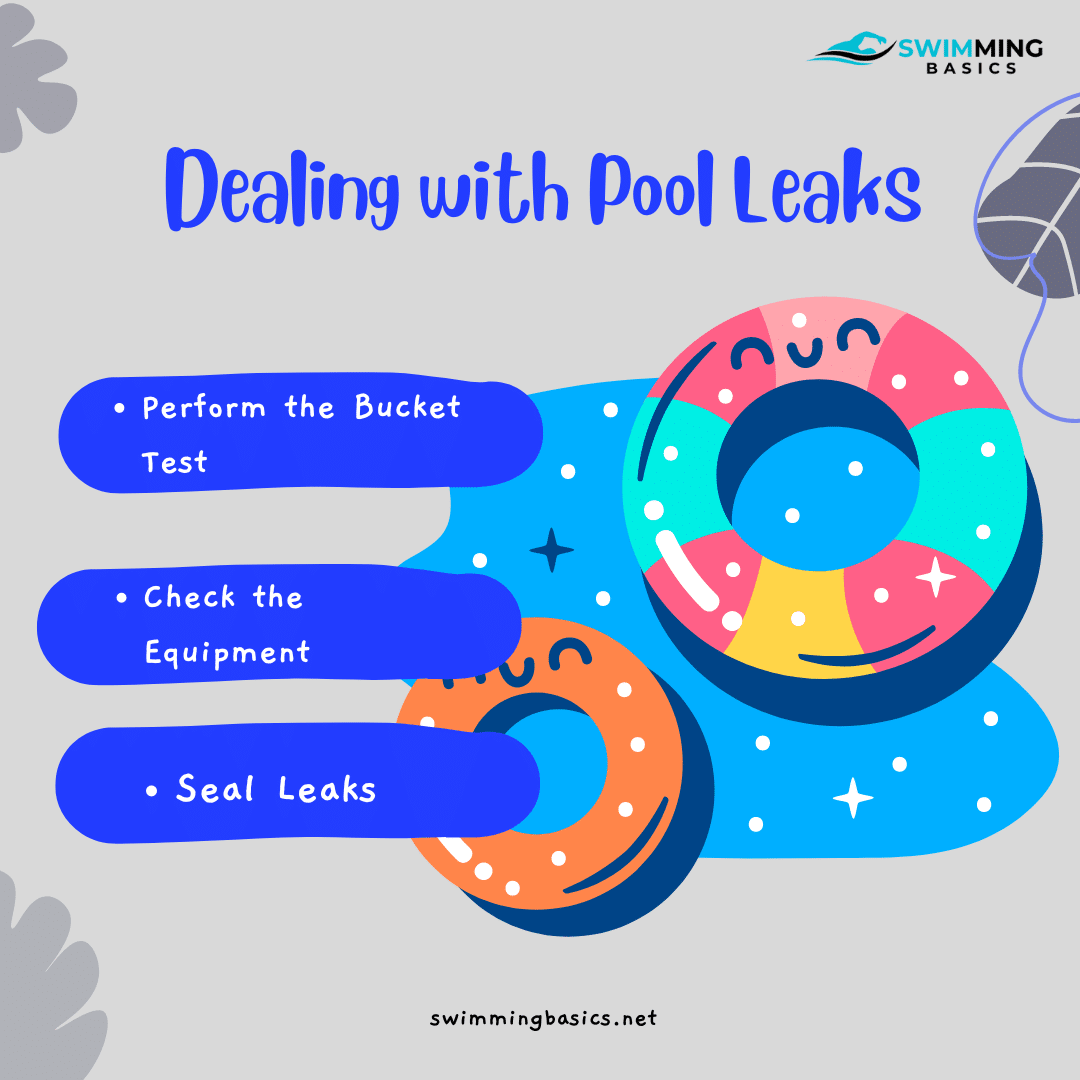
- Step 1: Perform a Bucket Test – Place a bucket filled with water on the pool steps and mark the water level inside the bucket and the pool. After 24 hours, compare the levels. If the pool water has dropped significantly more than the bucket, you likely have a leak.
- Step 2: Check the Equipment – Inspect the pool pump, filter, and plumbing for any signs of water leakage. If you find leaks in the skimmer, this may lead to skimmer repair costs.
- Step 3: Seal Leaks – Small leaks in pool plumbing or skimmers can often be sealed with waterproof pool putty or caulking. For larger leaks, you may need to replace damaged pipes or fittings, which can add to inground pool repair costs.
5. Maintaining Pool Equipment
Regular Upkeep
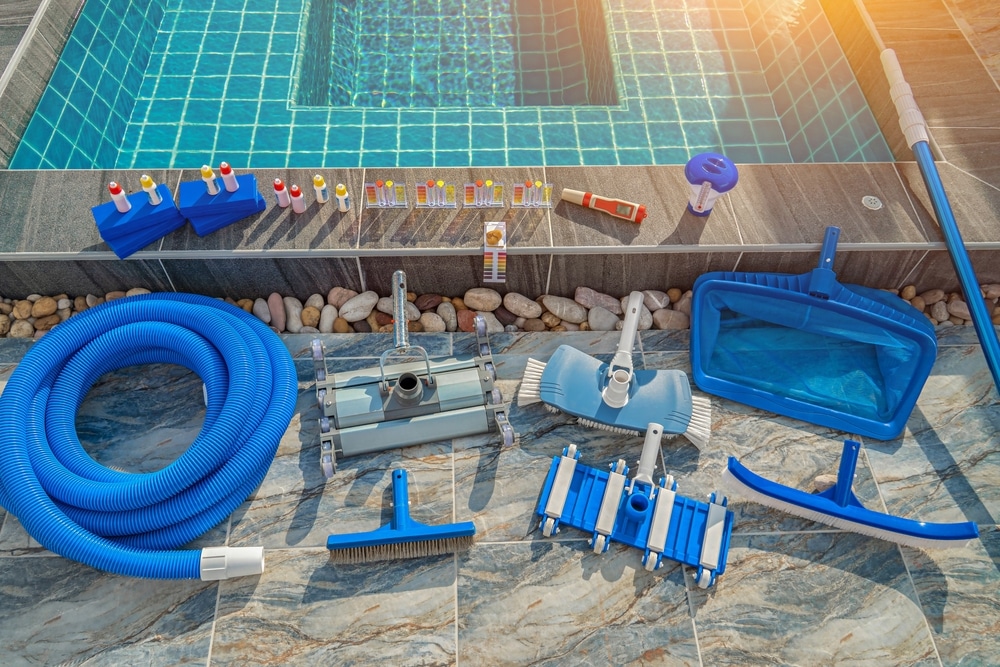
Let’s accept it; your pool’s mechanical system, including the pool pump, filter, and heater, is vital for keeping the water clean and at the right temperature. Regular maintenance will help prevent breakdowns and extend the lifespan of your equipment.
Here are some maintenance tips:
- Clean the Filter Regularly – Whether you have a sand, cartridge, or diatomaceous earth (DE) filter, it’s essential to clean it regularly to ensure proper filtration. Backwash sand and DE filters as needed, and replace cartridge filters every 1-2 years, depending on the size.
- Inspect the pump and motor – Make sure the pool pump is operating efficiently and not making unusual noises. Lubricate the motor if necessary and check for any signs of overheating or wear.
- Heater Maintenance – If your pool has a heater, make sure to check it for any debris or blockages. Ensure that the thermostat is functioning correctly, and clean the heating elements if needed. The average costs of servicing can vary but are typically manageable when done regularly.
6. Water Chemistry
Balancing and Testing
Keeping your pool’s water chemistry balanced is one of the most important aspects of pool maintenance. Proper water chemistry prevents algae growth, protects the pool surface and equipment, and ensures a safe swimming environment.
Here’s how to maintain balanced water chemistry:
- Test the Water Weekly – Use a pool test kit to check pH, chlorine, alkalinity, and calcium hardness levels. The ideal pH level should be between 7.2 and 7.6. Additionally, if you neglect this step, how much it costs to fix a pool can increase due to the need for extensive repairs.
- Adjust Chemical Levels – If the chlorine is too low, add shock treatment to kill bacteria and algae. If the pH is too high or low, adjust it using pool chemicals. Besides, consider consulting professional pool services if you’re uncertain about the correct levels.
- Use Algaecide – To prevent algae growth, add a weekly dose of algaecide, especially during hot weather when algae tends to thrive.
7. Dealing with Pool Stains
Cleaning and Prevention
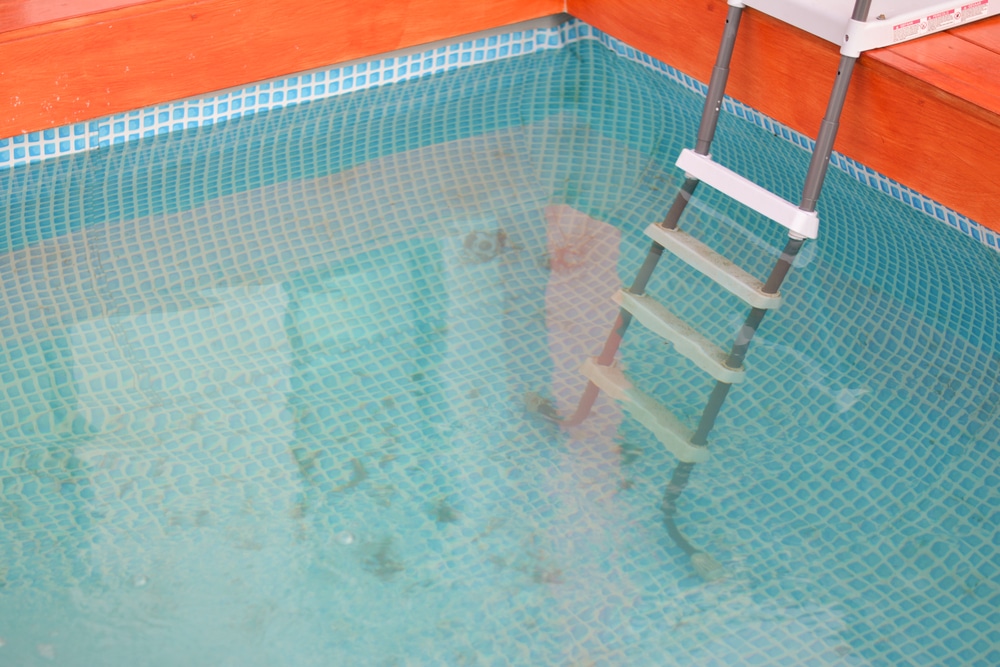
Over time, your pool can develop stains due to minerals, algae, or organic debris. These stains not only affect the pool’s appearance but can also damage the surface if not treated.
Here’s how to deal with pool stains for swimming pool repair:
- Identify the Type of Stain – Metal stains (caused by copper or iron) tend to be brown or green, while organic stains (from leaves or algae) are usually brown or greenish-yellow.
- Use a Pool Stain Remover – For metal stains, use a chelating agent or stain remover designed for pool use. For organic stains, chlorine or an enzyme-based cleaner can be effective. Depending on the type of stain, the costs for removal can vary.
- Prevent Stains – To prevent future stains, keep your water chemistry balanced, regularly brush the pool surface, and remove any leaves or debris as soon as possible. This proactive approach can reduce repair pool costs over time.
8. DIY vs. Professional Help
When to Call an Expert
While many pool repairs can be handled by DIY enthusiasts, there are times when it’s best to call in a professional.
If you’re dealing with a significant leak, structural damage, or a malfunctioning pool pump or heater, hiring a professional will have the tools and expertise to fix the problem properly.
Furthermore, you can expect to pay for labor and materials in these situations, which can vary based on the extent of the issue. This becomes important sometimes for swimming pool repair.
9. Winter Pool Maintenance
Off-Season Care
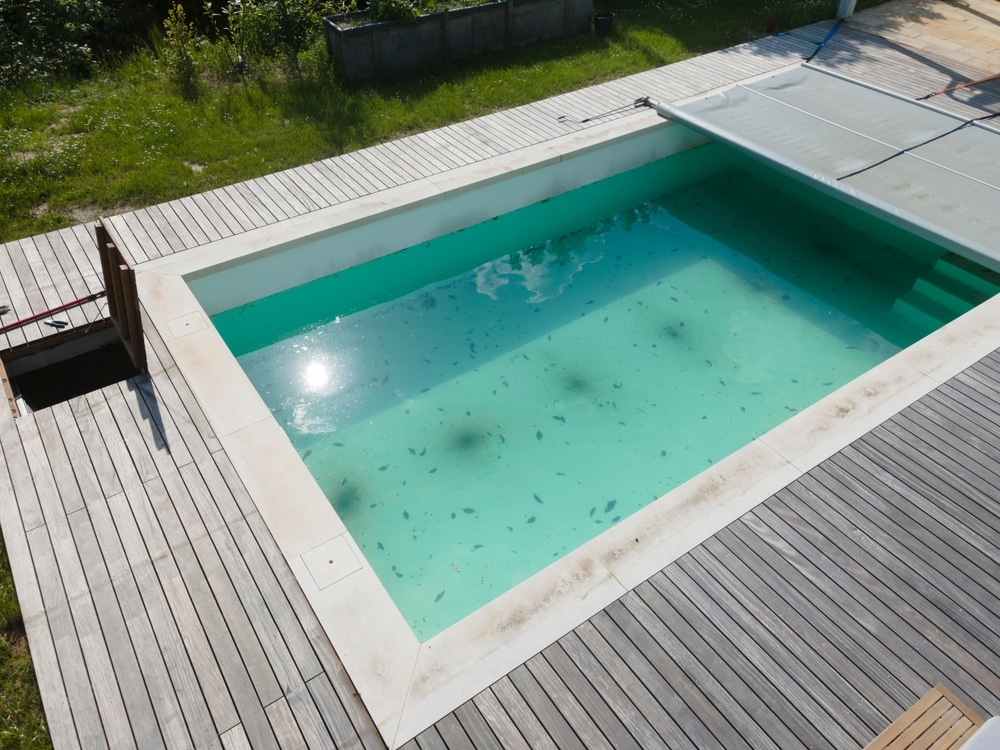
If you live in a region with cold winters, closing your pool properly is essential to prevent damage during the off-season.
Here’s how to prepare your pool for winter:
- Lower the Water Level – Drain the water to just below the skimmer to prevent freezing in the plumbing. This step is crucial for protecting your inground pools.
- Clean and Store Equipment – Clean the filter and pump, then store them in a dry place to protect them from the elements. The inground pool skimmer replacement cost can add up if not properly maintained.
- Add Winter Chemicals – Add a winterizing chemical kit to the water to prevent algae growth and corrosion.
- Cover the Pool – Use a durable pool cover to keep debris out and protect the pool from harsh weather conditions.
If you want details on off season maintenance tips, check out this guide.
That’s a Wrap
Summing up what has been discussed so far, maintaining and repairing a swimming pool doesn’t have to be a daunting task. With regular inspections, proper water chemistry, and timely repairs, you can keep your pool in excellent condition. So, people, take on this DIY project and repair your pool.
